“The eyes are the windows to the soul” some say …
So if we take this metaphor and rearrange it a little bit then this means that I can also say that “The windows are the eyes to my home soul” ?
Motivation
Before getting to the point I wonder how many of you and more important how many times when you left home you asked yourself:
“Oh… is the Living Room window closed ?” or “is the Attic Window closed ? ”
Because it may rain and oh well… you know the consequences. I for sure did and not just once. So here we go …
Main goals
- Have a way to get notified when you leave home that you forgot to close window X or Y
- Small enough and battery powered is a must
- Wireless of course
- Good coverage required as well (for big houses)
- No glitches or false alarms please !
Hardware implementation
We need first a piece of hardware to run this of course. But what options are available?
Here are a few:
- Buy a ready made solution – the easiest of course. But it can also be expensive and maybe hard to maintain over a long time and also very likely to get into a “vendor locked” situation – not good!
- Build it yourself ! Yes !!! This is the part that I like the most.
- A mix of the above – wait a little bit… What ???
And again I will get straight to the point and say that I decided in the end to go with the 3rd option – yes a mixture which turned out to work really well (even beyond my own expectations).
But until then I will tell you everything that I’ve been through: my experiments, challenges and so on …
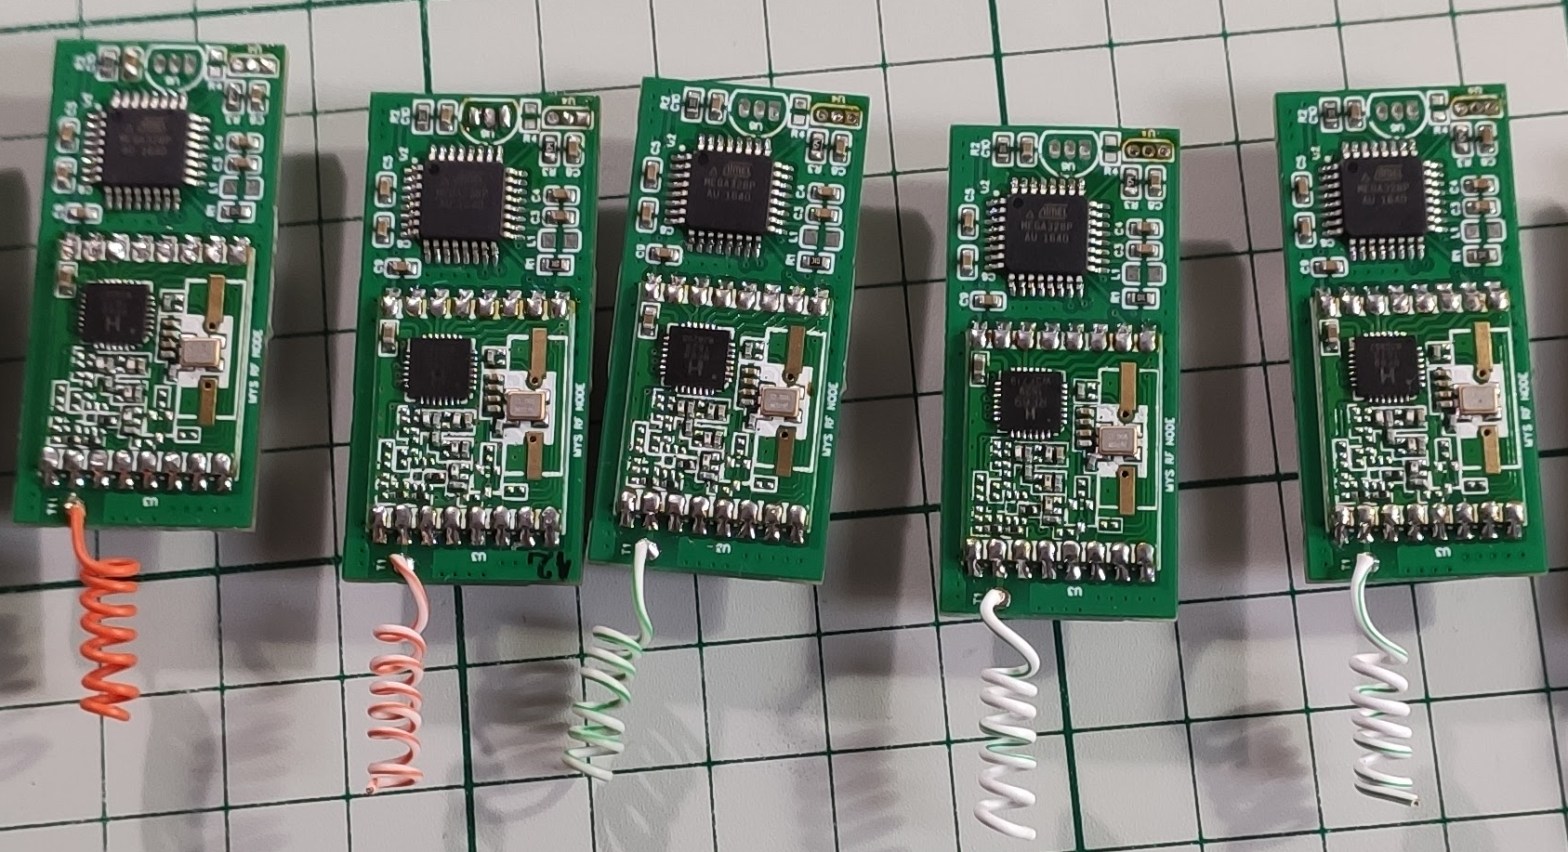
Let me present now the candidates:
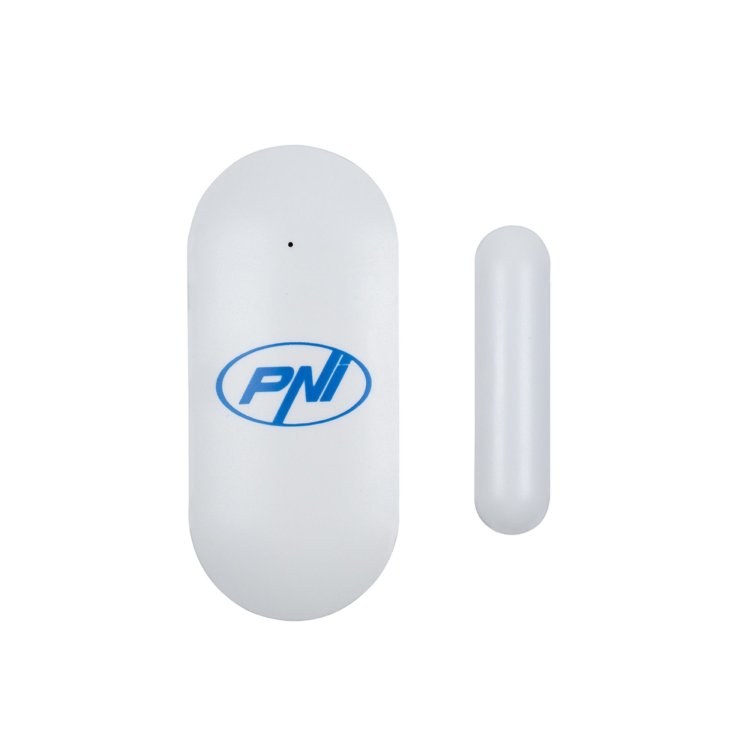
On the left side is the sensor that I bought from the store aka the PNI HS002 and on the right side is the custom board that I made myself to replace the original one. Why ? Well let me give you a little bit of context first.
How the story began actually
Initially I wanted to have a quick solution and something that just works out of the box. Sometimes I am lazy and not enough motivated to build something on my own or go via the DIY route and that’s why – “comprehende” ?
So there I was and bought 15 pieces of this battery powered “magnetic window sensor”. But later on it proved to be not very reliable and then I started to cry – well not in reality. In reality I started to get angry and said to myself: why did I trust this vendor and bought all of this sh1t ?? It wasn’t very expensive but still … why the hell some things even exist ? Just to steal your money and my precious time because let’s face it – time is more precious than anything else in this ever evolving world and I don’t care if you really agree or not with me because this is a real fact – period!
Of course the mistake is mine because I was rushing things out and never let this “thing” run enough so that I can test it and review it in more depth so to speak. Why? Because I don’t have time or patience sometimes so here we go again and touch the “time is precious” part or better to say “time is something that I cannot afford sometimes”. Who the hell created “time” in the first place anyway?
Ok… enough is enough. Now let’s try to calm down and fix the this damn situation because we’re engineers right? We like to repair stuff but more than that to build stuff – YESS ! That’s the spirit !
First tentative
If you have physical access to a system you own it!
Believe me or not the above is very true in most if not all of the cases. I mean how many of you had to repair a PC and had physical access to the unit and then used its CDROM drive in the old days or a USB stick nowadays. If I have physical access to a machine (PC in this case) I can do anything with it: I can boot it using a custom bootable CD or USB stick and then have access to the hard drive data (if not encrypted – a lucky situation) and then reset passwords or whatever I like.
Now getting back to our window sensor. In this case I did a little bit of reverse engineering and noticed that it has the following building blocks:
- ASK transmitter working on 433MHz
- Remote control encoder IC – this is like the classic PT2262 or the like
- Reed sensor (a switch that is sensitive to a magnetic field)
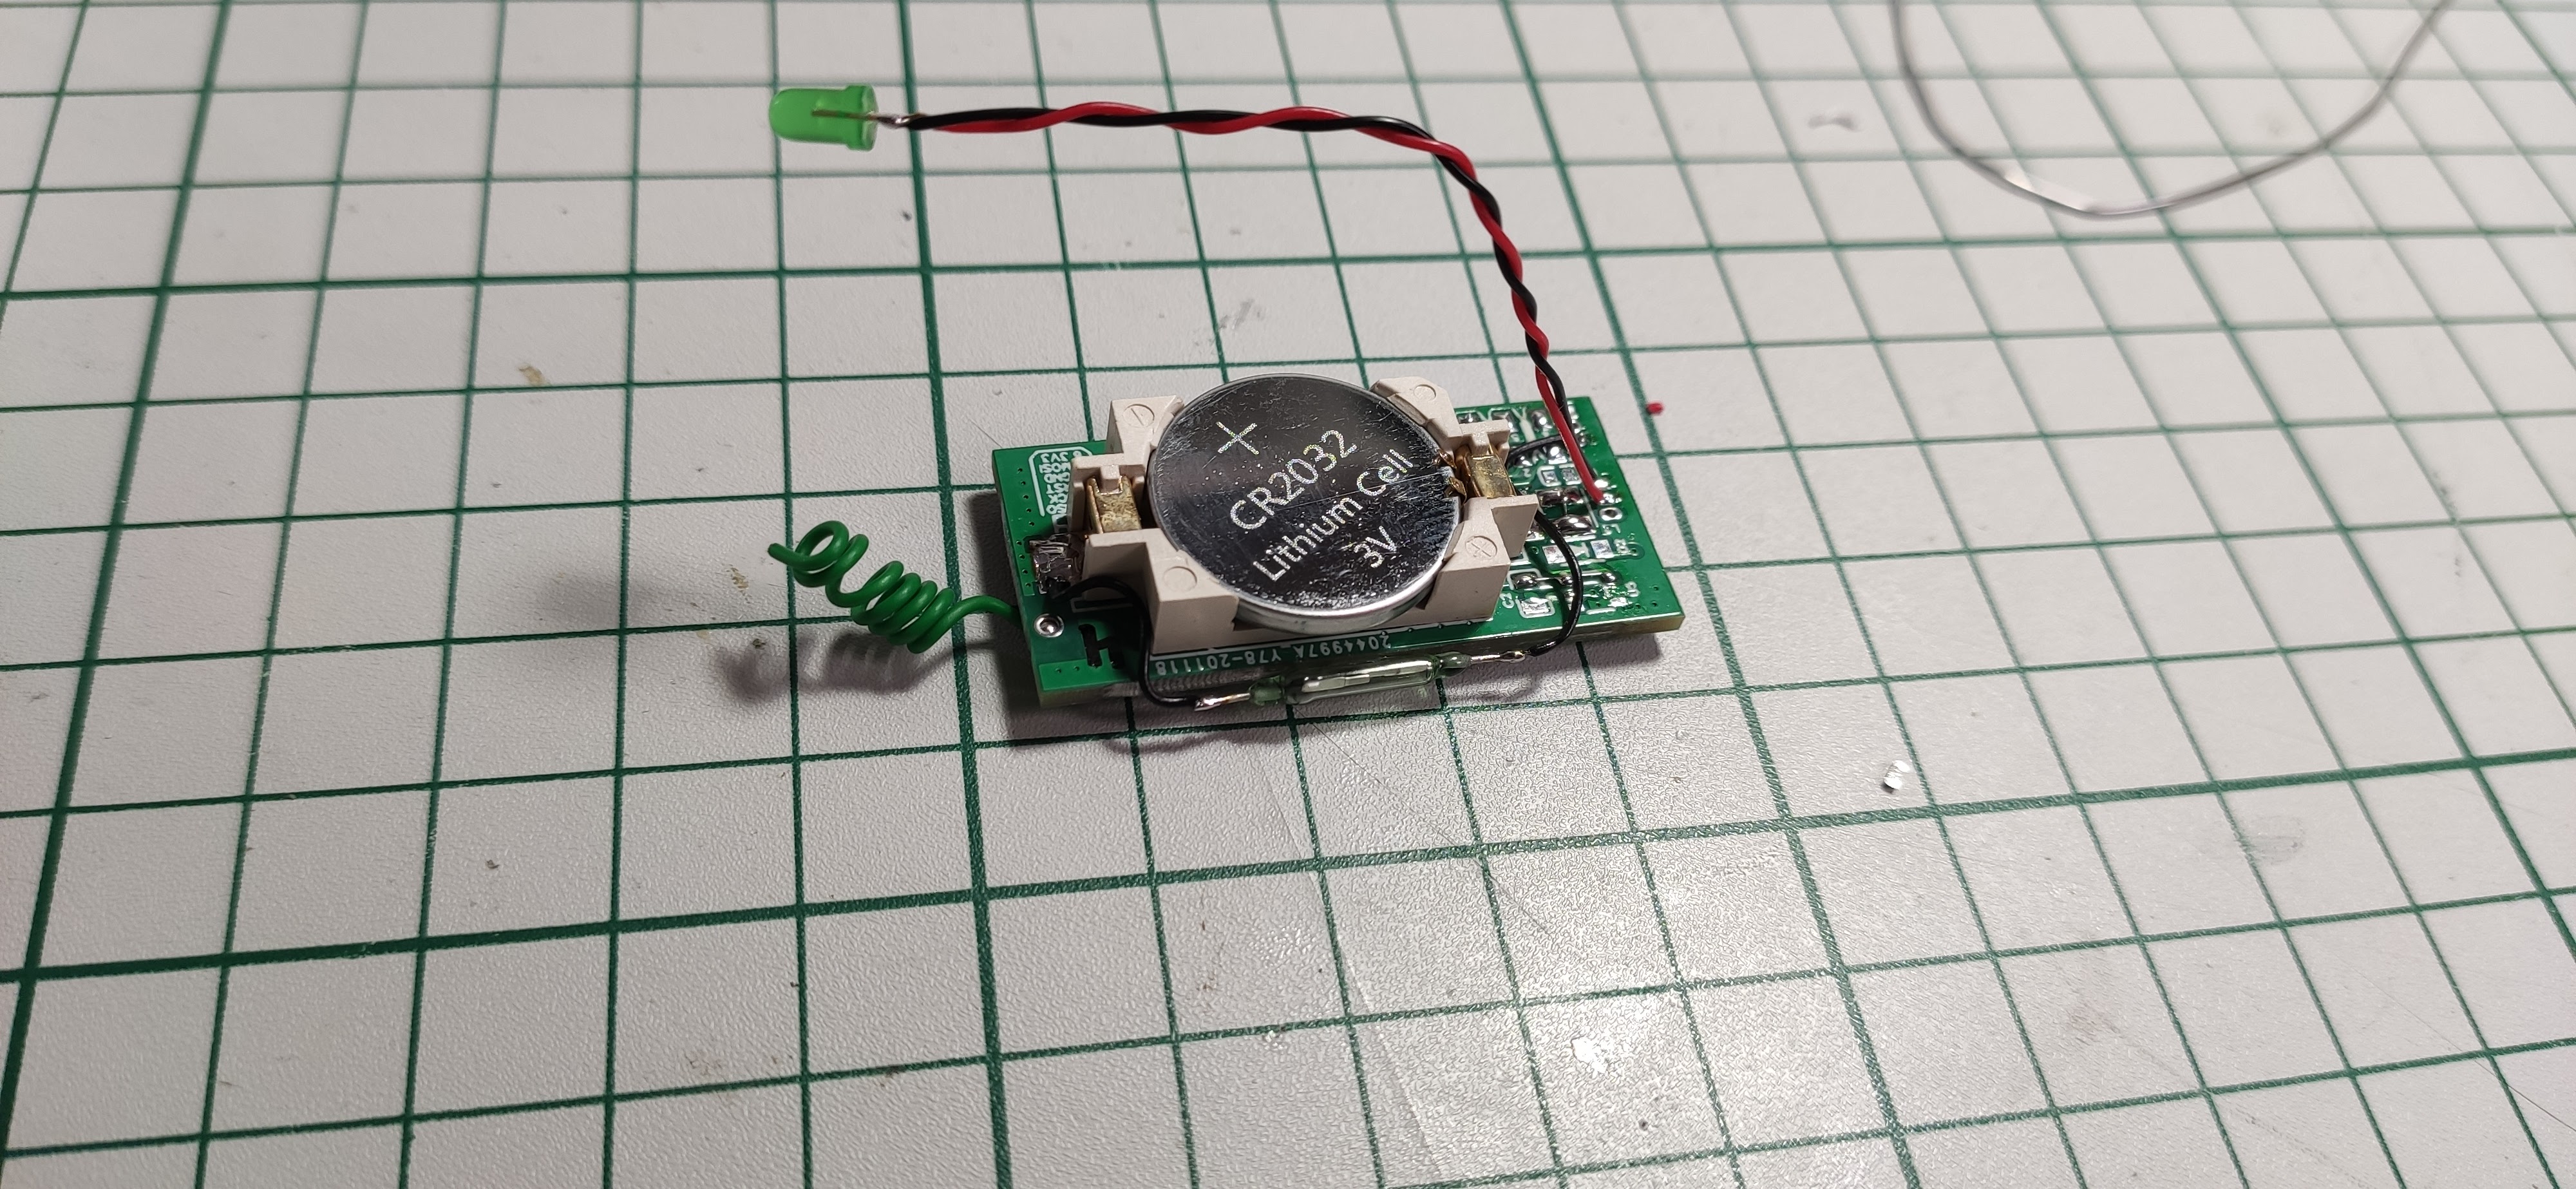
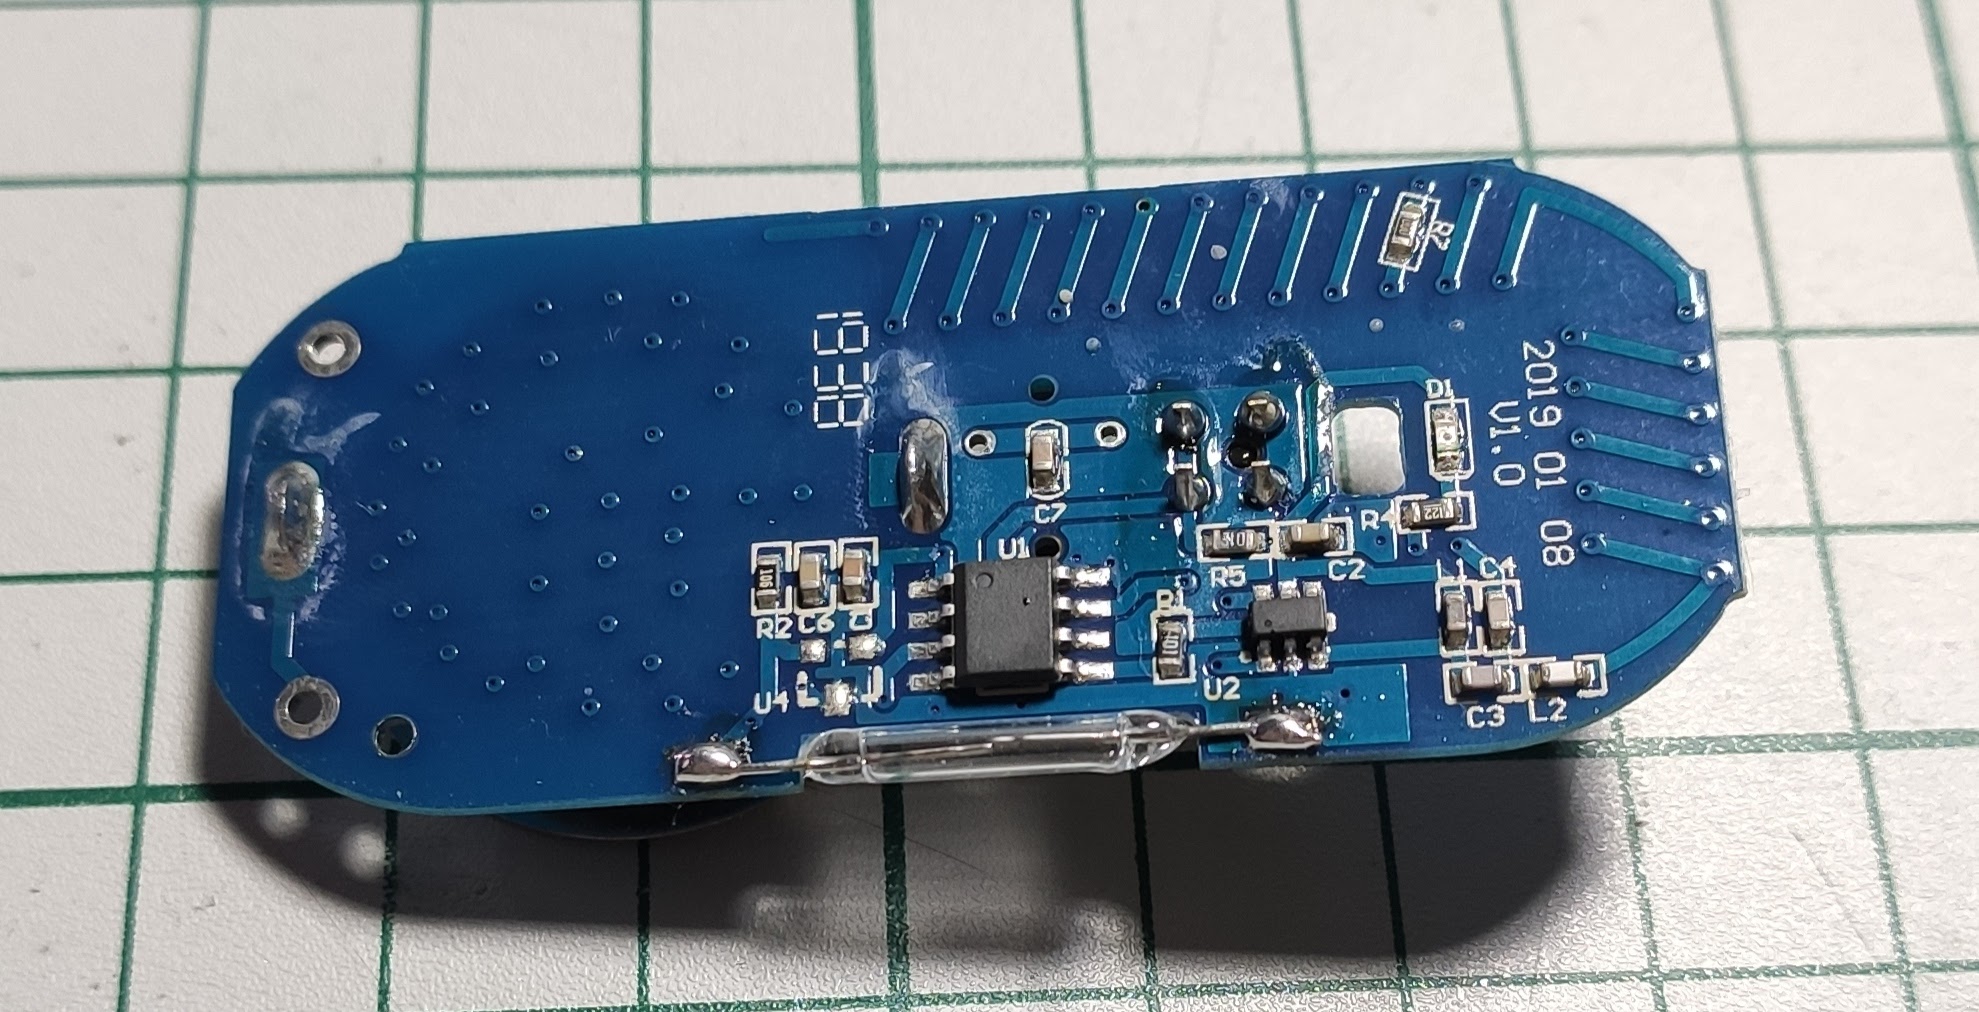
All of the above can be observed on the original board:
- the big bug with 8 pins is the encoder IC
- the small bug with 6 pins is the ASK modulator and RF transmitter
- the REED sensor in that glass balloon at the edge of the board
Then I said: OK we can integrate this thing very easy with my home automation system via MQTT using OpenMQTTGateway which is a very cool project btw (I made a few contributions to it – some PR’s to address some issues on their Github repo).
So there I was and started integrating the OpenMQTTGateway project with these sensors and it worked… to some extent.
But I wasn’t very happy after a while because:
- Range was an issue and this is the most disturbing part when it comes to building sensor networks and not only
- False readings which means that random sensors started to appear in Home Assistant (because I love and use Home Assistant btw). This was because of the unacceptable noise present on the RF medium and ASK demodulation doesn’t deal very well with it – remember the days when listening to AM radio stations ? So yeah… unreliable data which is even worst …
I forgot to mention about the hardware part used to power the OpenMQTTGateway project.
Here are the main components involved:
- ESP32 board for the WiFi part (bought from AliExpress long time ago)
- 433MHz ASK receiver (bought from the same place)
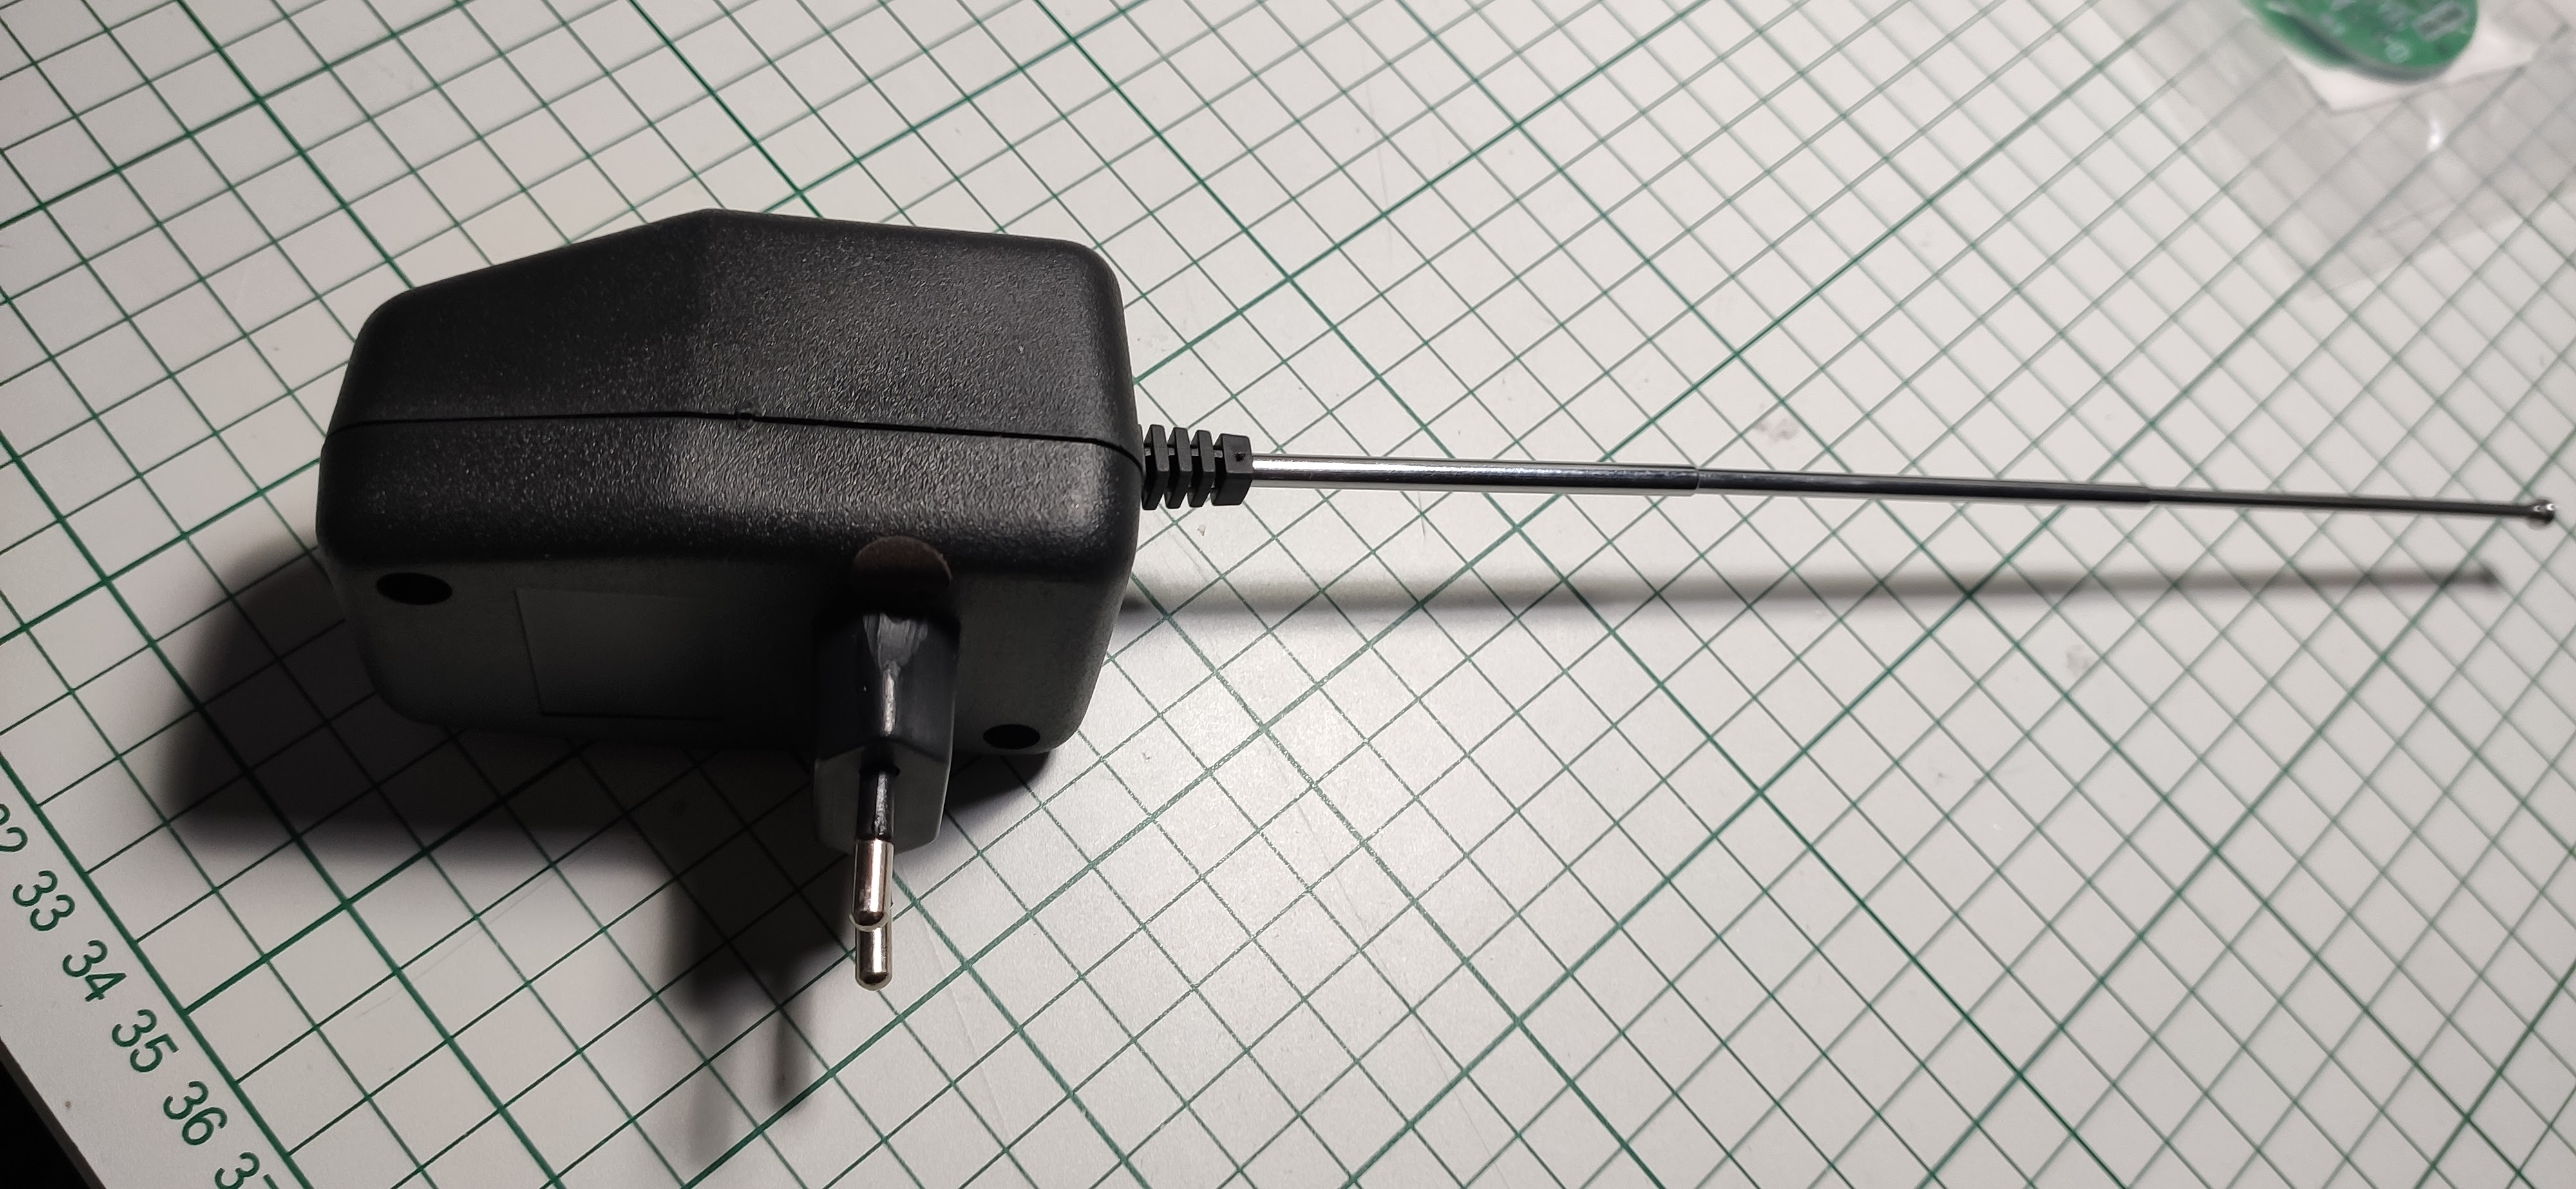
- 5V/1A power supply – this was “ripped” apart from a cheap Phone charger
- Power supply box
- Telescopic antenna for the ASK receiver
Some pictures with the final build of which I was very pleased:
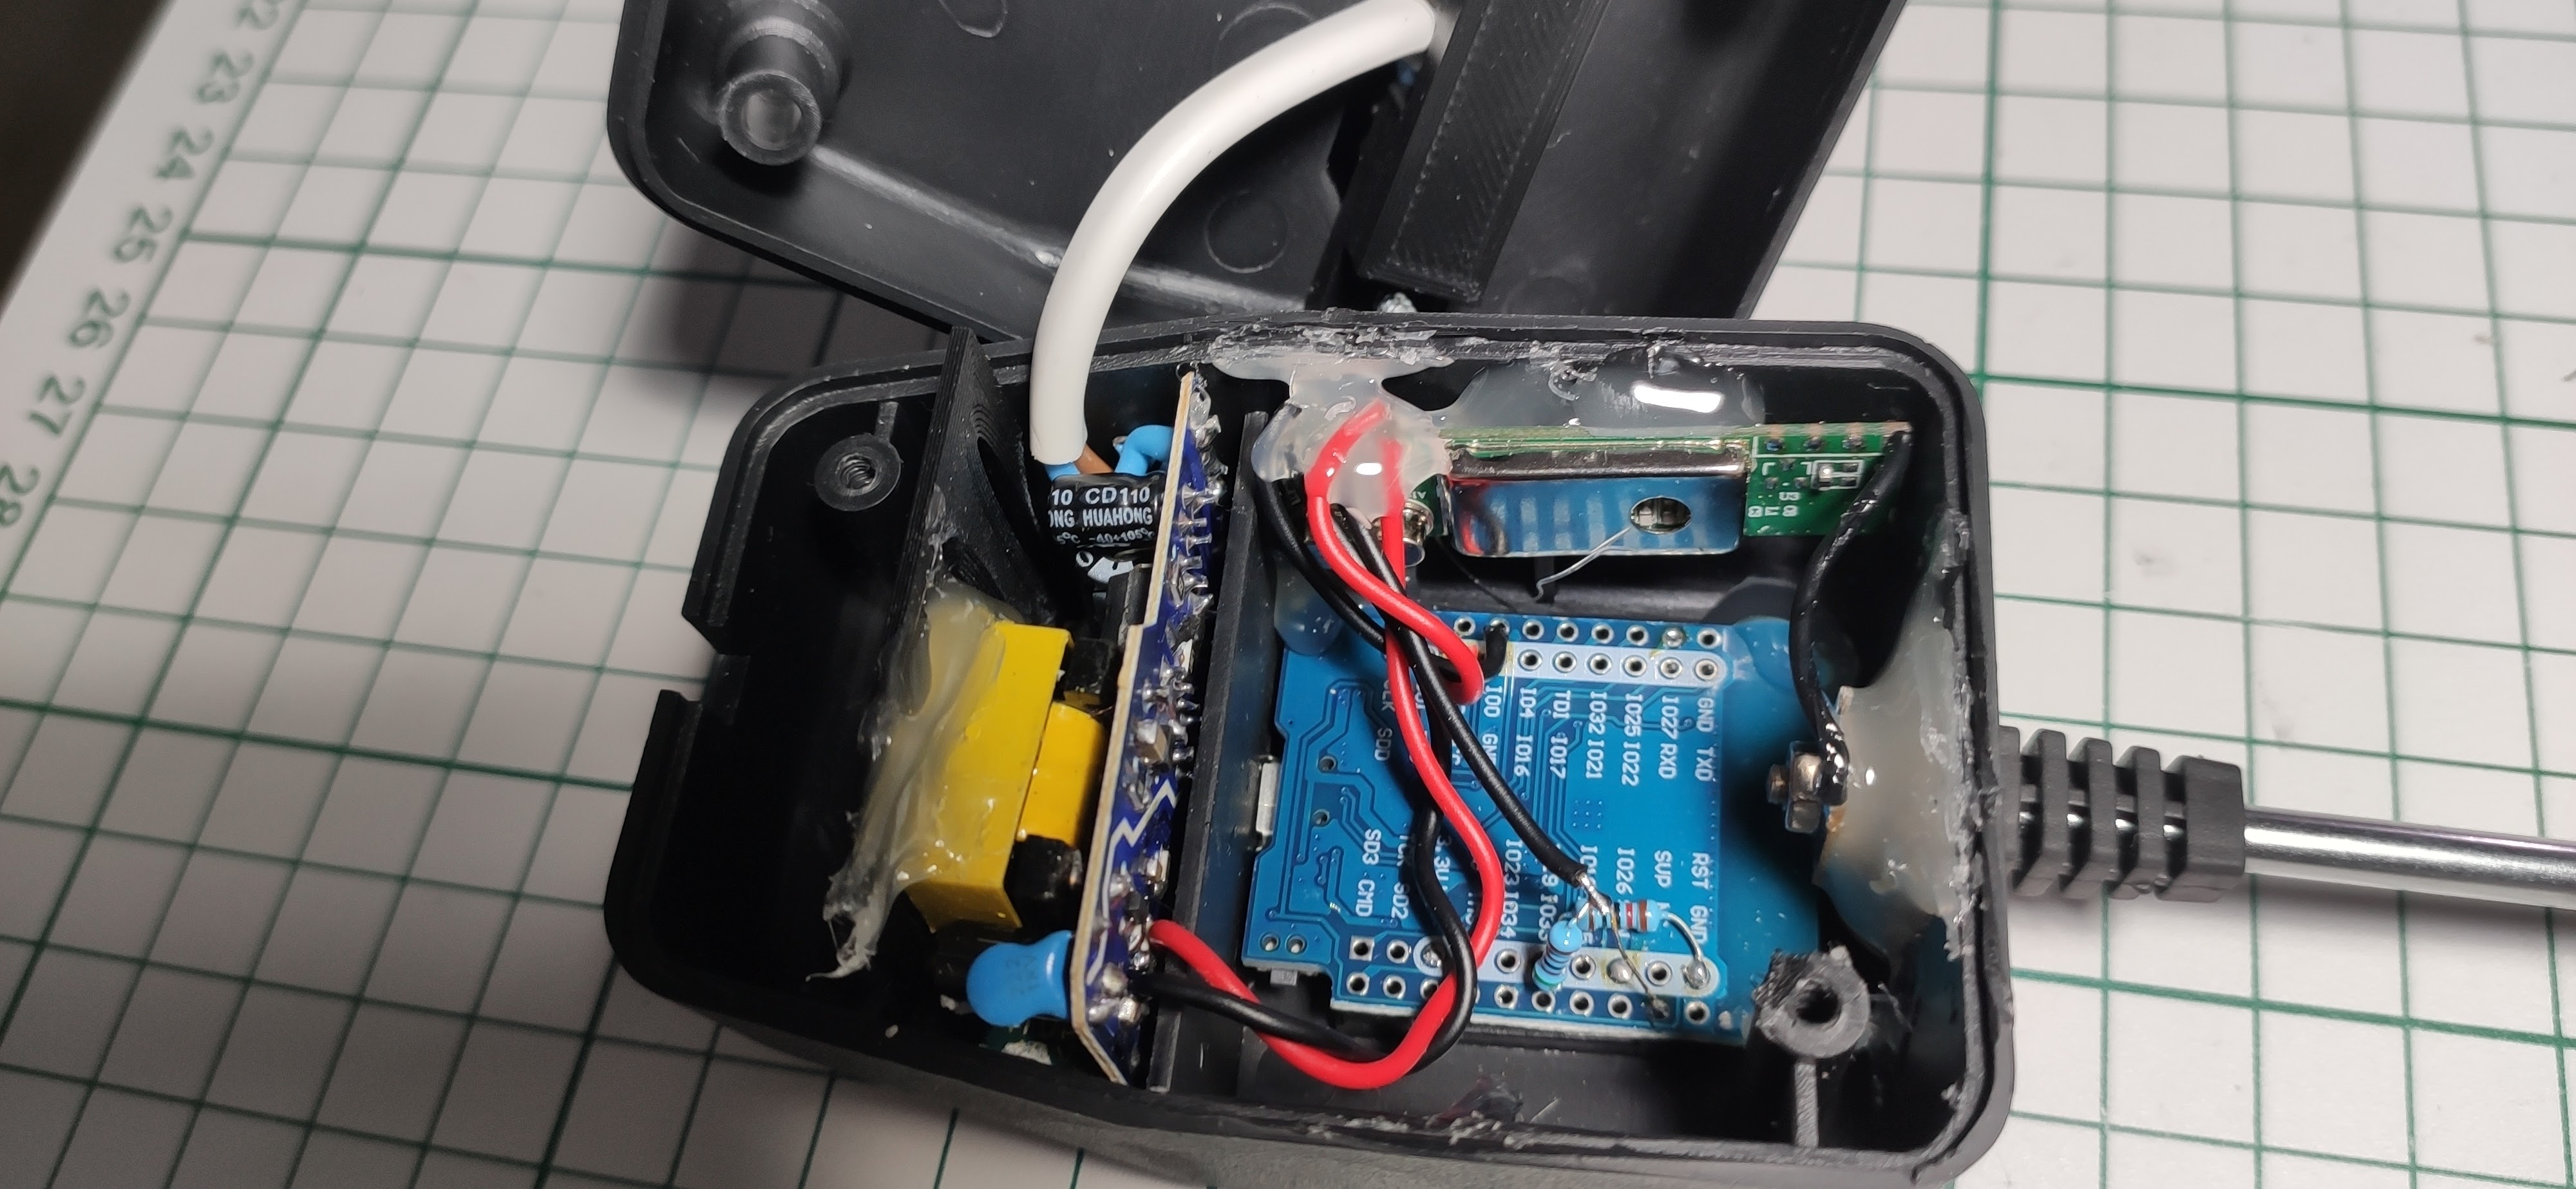
You can see the main WiFi board – the blue one that’s near and a little bit under the telescopic antenna. The 433MHz ASK receiver is the green board with a metallic cover used for shielding. And the power supply board is on the left side where the mains cable also is (the white one that’s much more thicker). There are also 2 blue resistors (barely noticeable in the picture) used to form a voltage divider because I have to power the ASK receiver with 5V to work and the WiFi module accepts 3.3V levels only on the pin used to read the ASK signal after demodulation. For decoding the signal OpenMQTTGateway uses the almighty Arduino RCSwitch library.
Second tentative
I revisited this project after a while and I thought: hey maybe the transmission channel is not very reliable because of a bad antenna design ! And indeed it was for Christ sake !
Let me start with a very important note first:
Never forget to check if the antenna is built and matched accordingly. Like in a previous post when I was talking about the importance of a power supply in a electronic circuit likewise in this case the antenna is a very important part of every radio system from this planet !
Yes you heard me well and I hope you did! If a circuit has a poor power supply then the same applies to a radio system with a bad antenna – period ! End of story ! And of course both are key points that you and I need not to forget.
Why the first hardware build was not very reliable on the 433MHz part? Well because of the amazing telescopic antenna. Yes it’s an amazing antenna and it brings me back some old memories but it’s not so amazing when it’s attached to my home automation system. It’s an omnidirectional antenna and that’s OK because we don’t want to track something so I don’t need an unidirectional one but still… there are much better alternatives.
Now of course I’m not a RF expert and nor an antenna expert as well but I do have some basic understanding of the essentials so to speak. Oh and there are so many factors that can drag down the RF link budget but let’s keep it simple now and say that I decided to go with a simple dipole antenna and a SDR module. Yes – Software Defined Radios are so cool and powerful !
I remembered that I bought a SDR some time ago and it was only collecting dust so I said why not give it a shot ?
Here are some pictures with the new and much better antenna build. The SDR module is there as well.
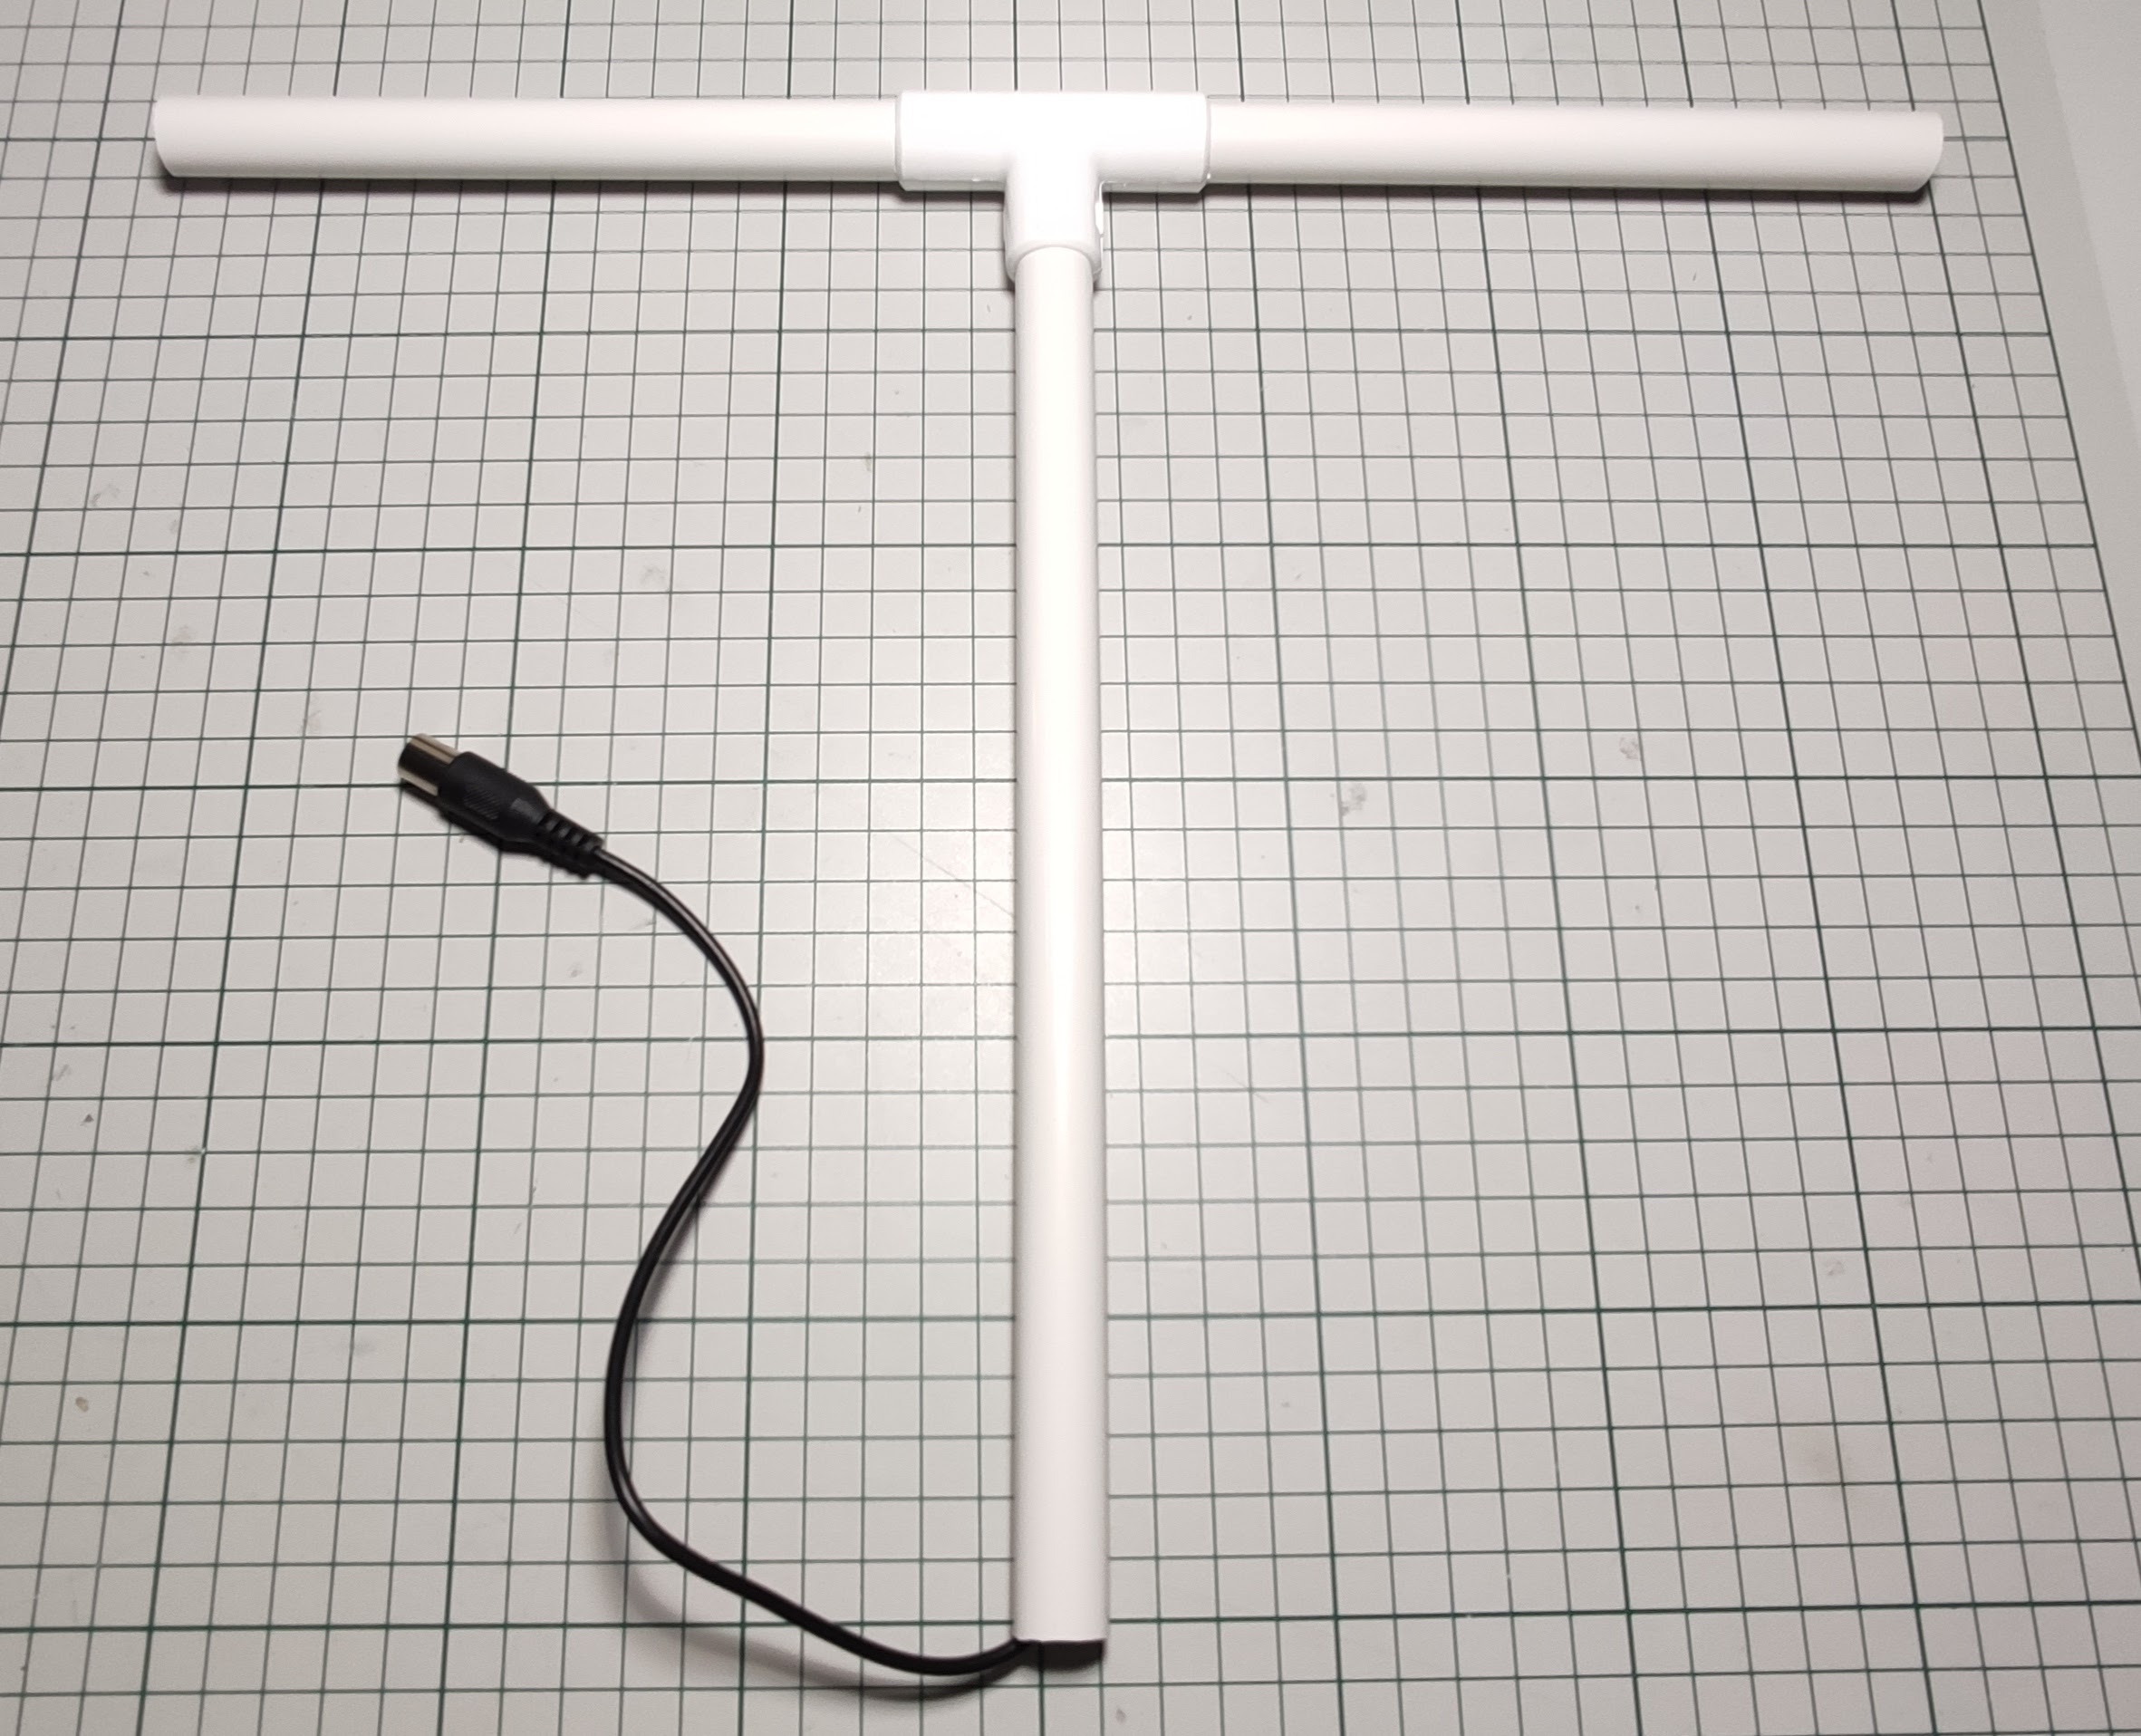
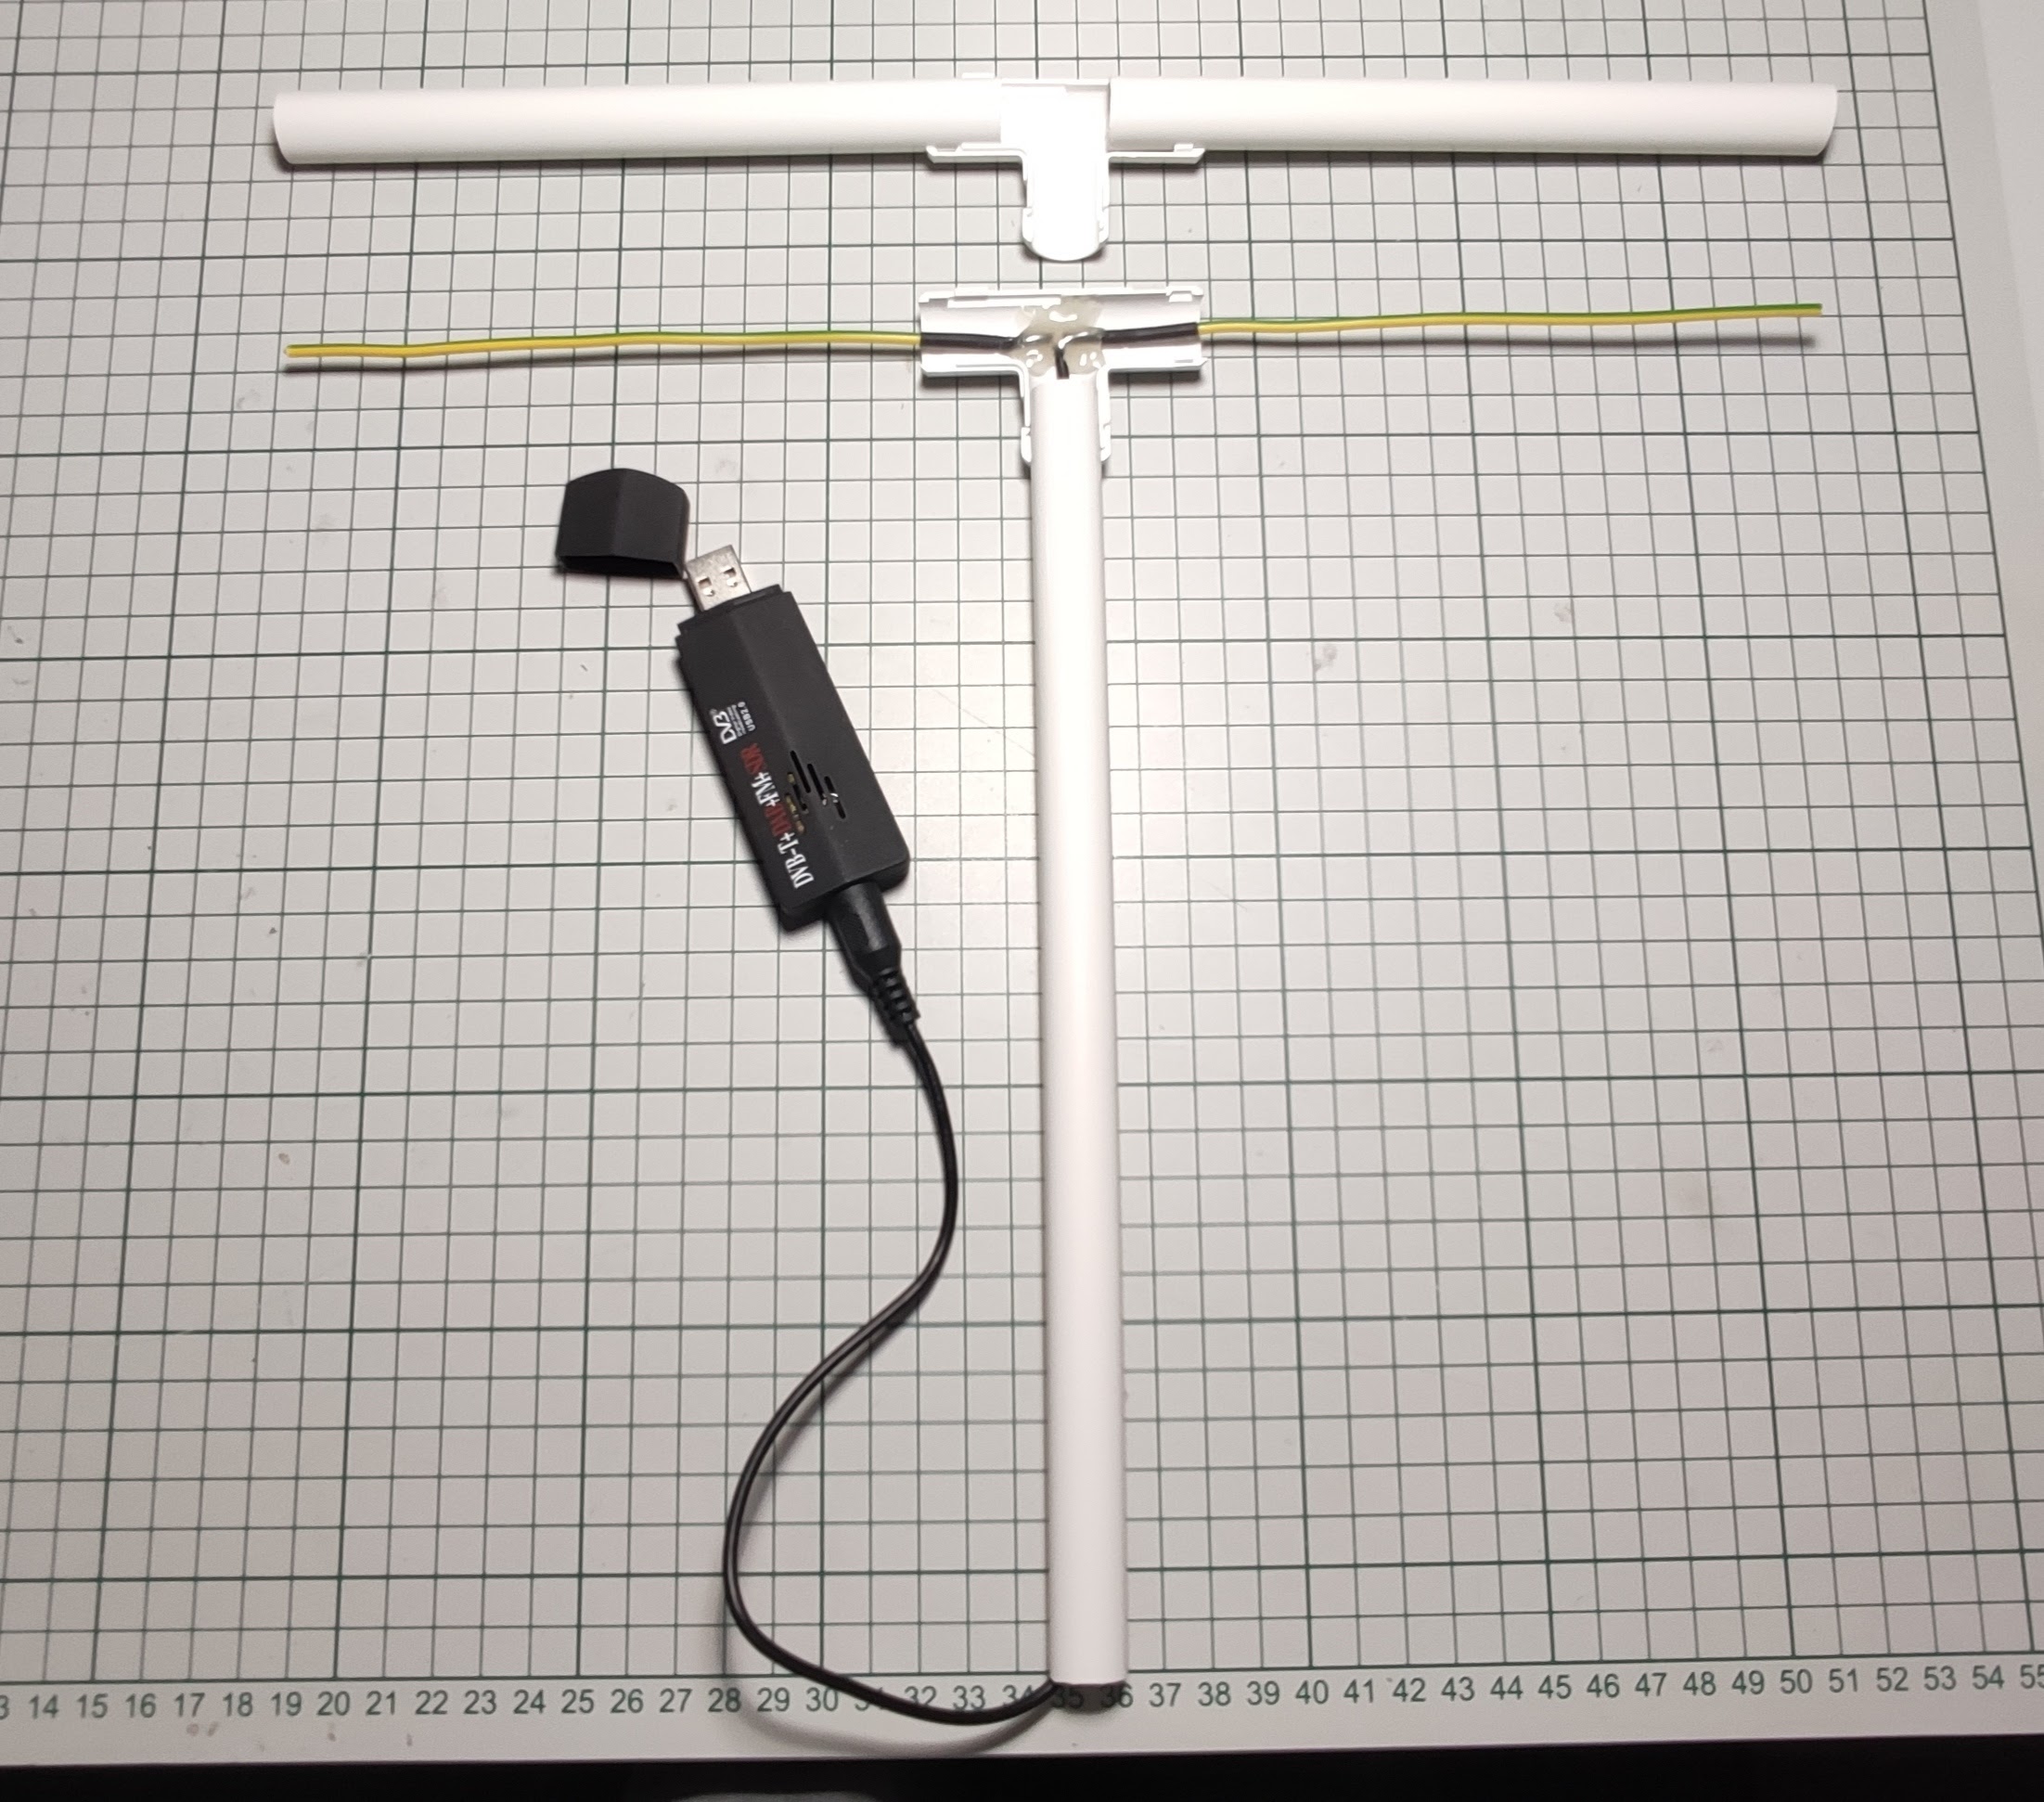
The dipole antenna is a λ/4 build and should have an impedance of 50 ohm (well somewhere around that value anyway). I didn’t had a VNA (Vector Network Analyzer) around at that time but I do have one now and I just need to get into the habit to use this thing. It’s a very useful device to have in the lab if you’re into radios and antennas stuff.
Then I hooked this thing into my computer and used the so cool Node-RED project to drive it. I found a Node-RED plugin or better to say “node” which allows me to use it very easily and in no time I was playing withe the SDR and getting data after tuning on the 433MHz radio frequency.
I was amazed on how easy is to spy and even decode data present “on the air”: wireless thermometers, garage door openers and so on – isn’t that cool? Well it is but not legal in some cases. In the end it depends on what you do with that data. If you use it for your personal gain as to hack someone’s garage for example then yes it’s illegal and all that. But how does it know to decode signals? The answer is very simple: rtl_433.
OK enough playing/tinkering let’s get to our own window sensors. I made a really quick project via Node-RED and inserted a rtl_433 node then some string parsing and publishing via MQTT to Home Assistant – yes it’s that simple with Node-RED.
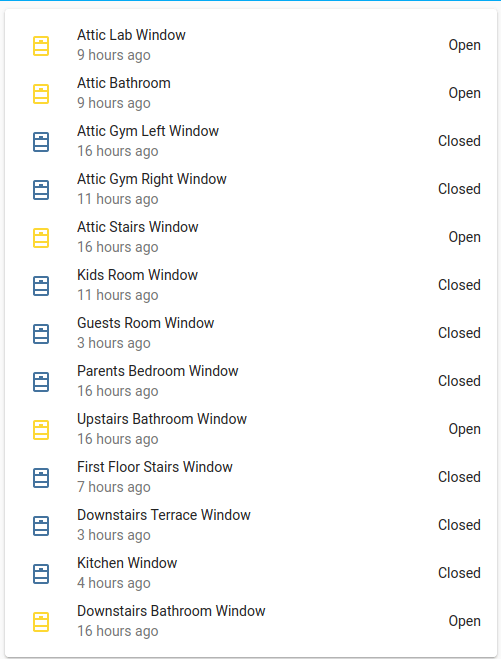
I managed to get the required data into Home Assistant and also set up a dashboard for the sensors like seen below (forgot to mention but those sensors are reporting battery state as well which is nice):
Oh and yes range was increased considerably with the new antenna design and the SDR device which has better RX sensitivity – success!
Still I wasn’t very satisfied or not quite there … Oh wait you may say – this guy is really crazy or what? I mean what can you ask for more ? What the hell is wrong with you ?
To be continued …
